We all want cool hair for our characters, Right? But sometimes our budgets can get tight,so buying the hair you want can be difficult, In this tutorial I will show you how to convert Sims Hair to be used in Daz Studio.
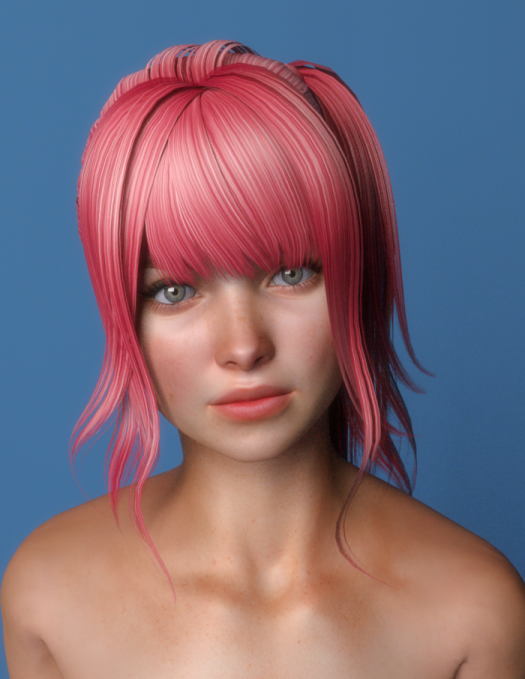
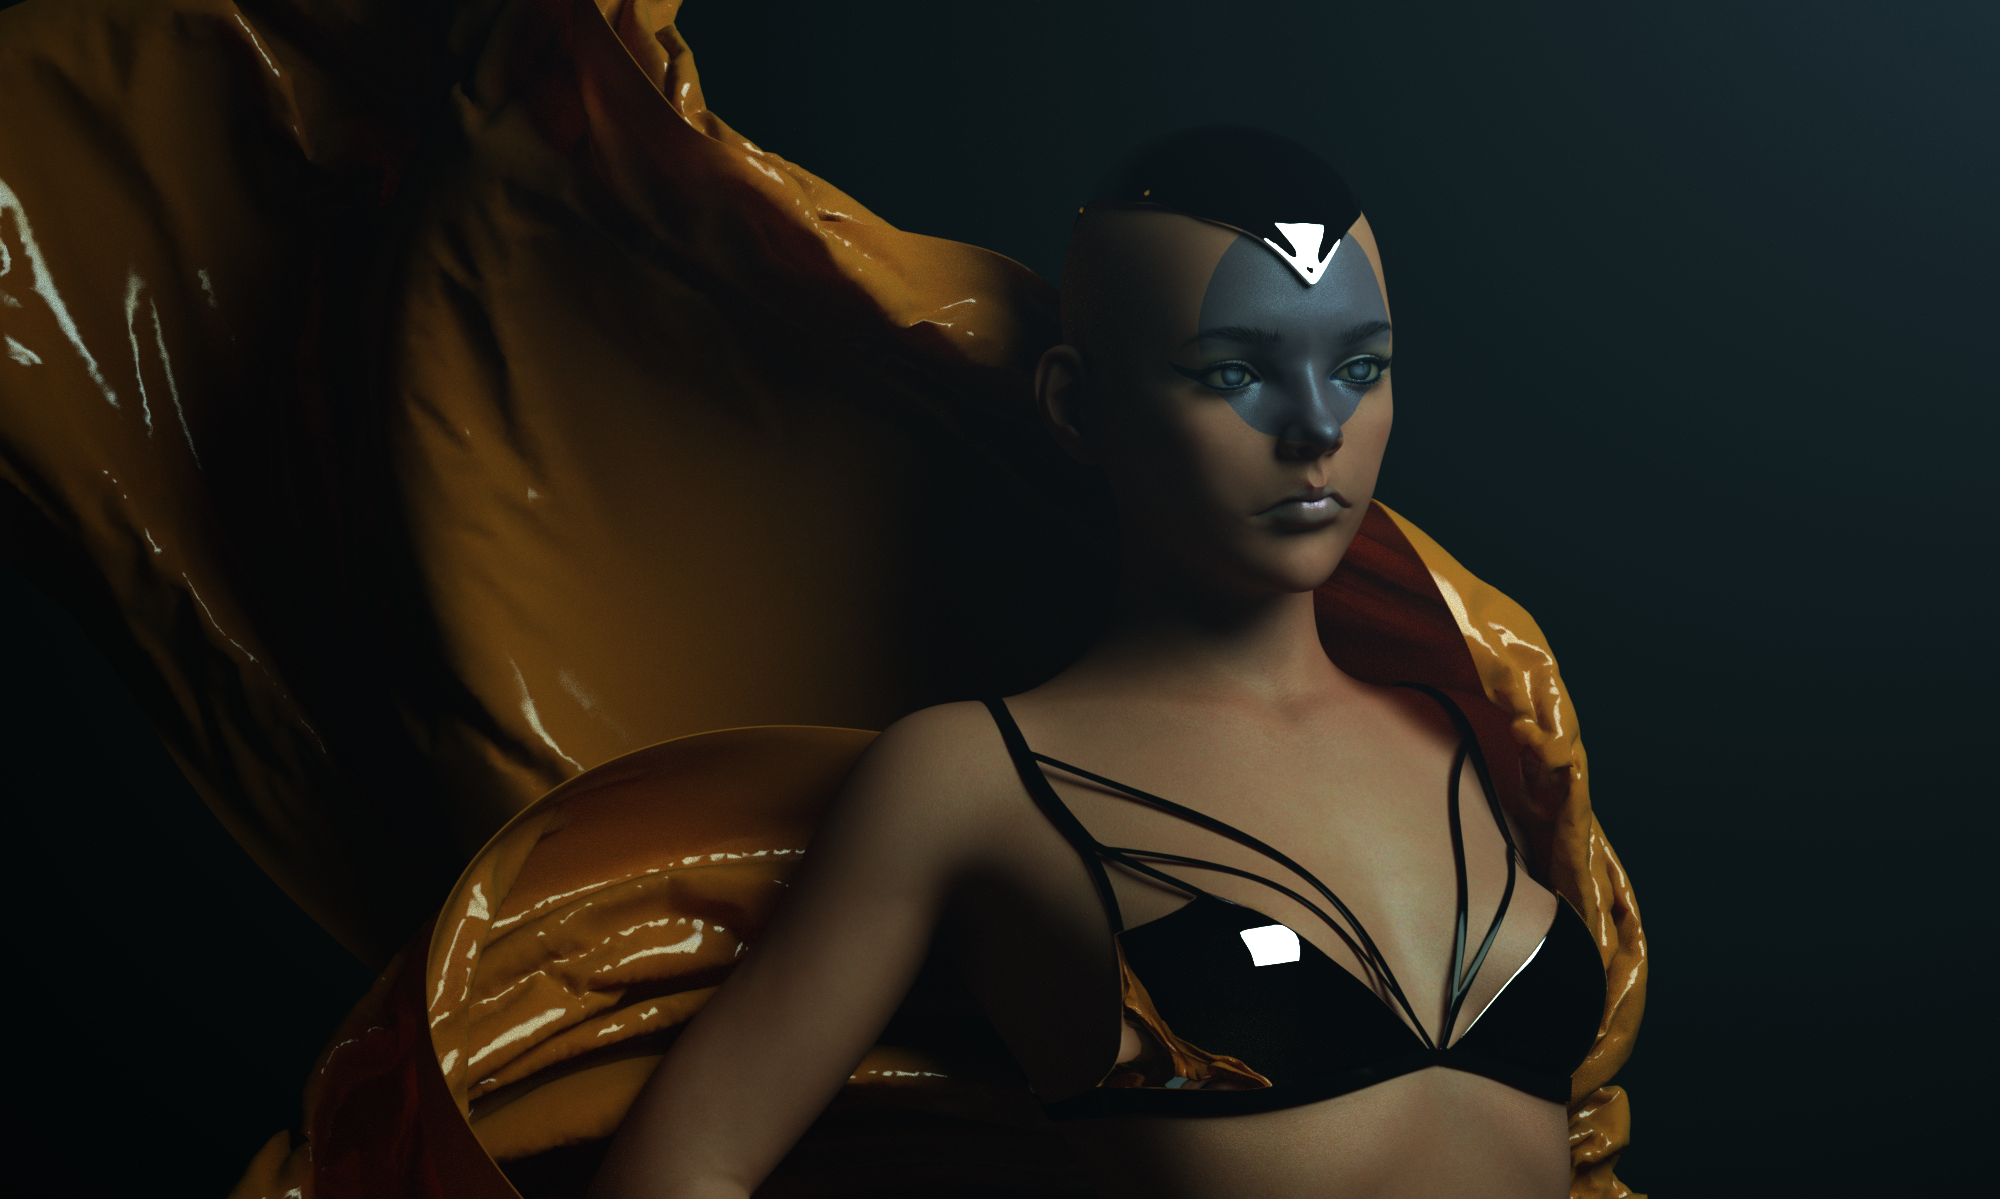
As an example, you guys have seen in my gallery what can be done with Sims hair: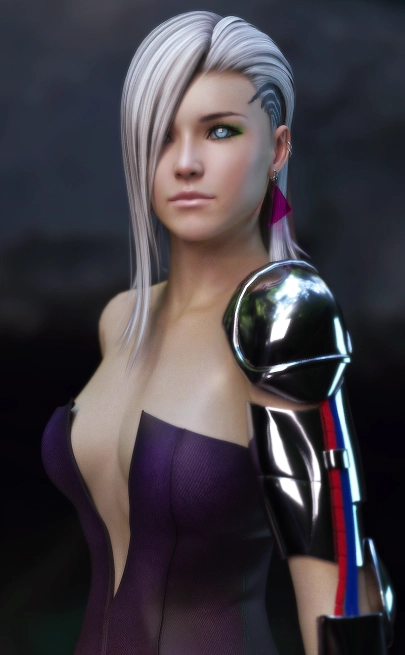
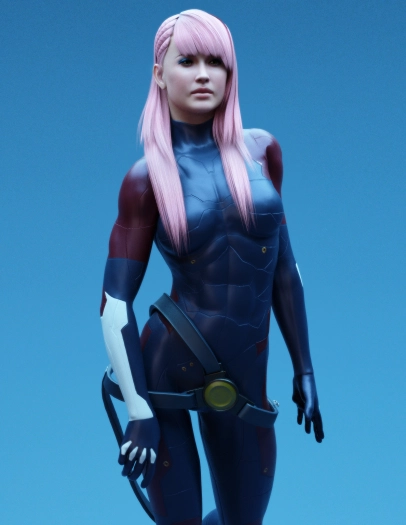
Doesn’t look too bad does it?
So let’s get started!!
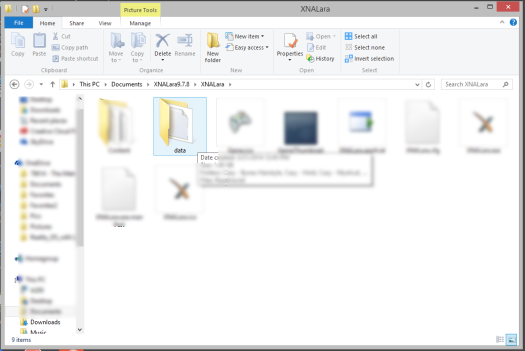
First step is to download and install XNALara by unzipping the folder to the documents folder on your computer.
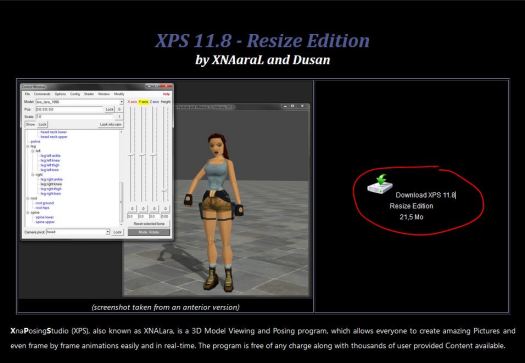
Select Download Main Program
OLD:http://www.tombraiderforums.com/showthread.php?t=147100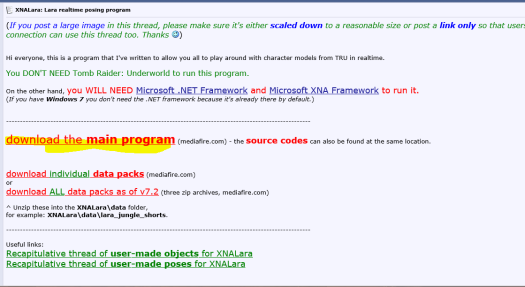
**Updated**: http://www.core-design.com/community_xps.html
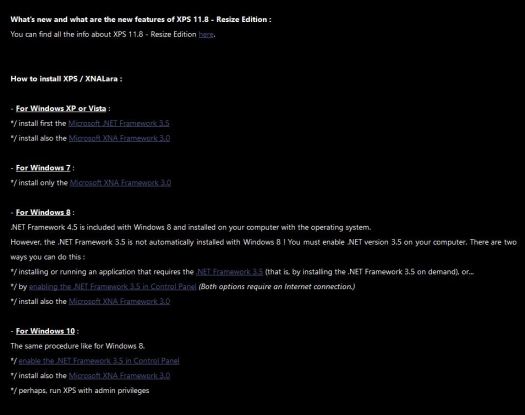
Remember to install Microsoft .NET Framework and Microsoft XNA Framework for the program to work.
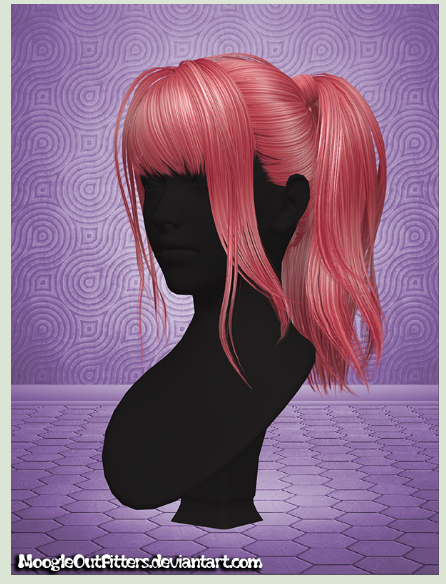
Step Two, go to Moogleoutfitters and download the hair of your choice.
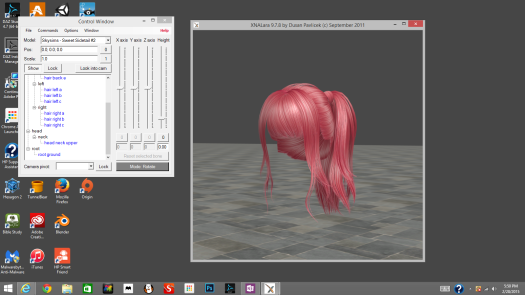
Here I picked Skysims-Sweet Sidetail
http://www.deviantart.com/art/Skysims-Sweet-Sidetail-492371512
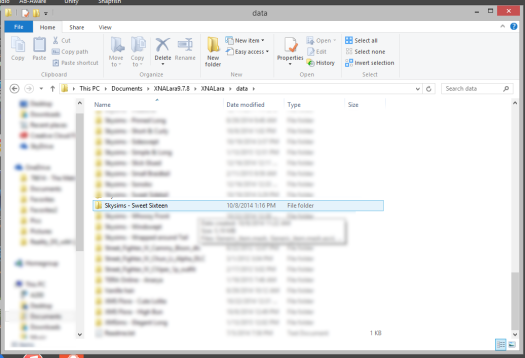
Now that you have dowloaded the hair, Unzip the hair to the Data folder of XNALara or XPS.
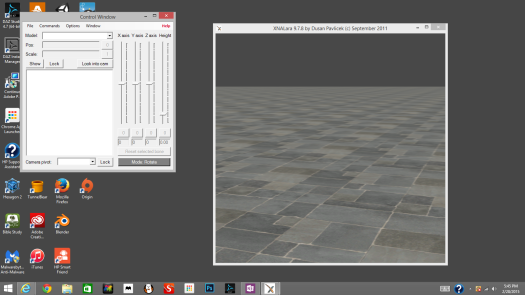
Open XNALara/XPS and load the hair file by going to File-Add Model.

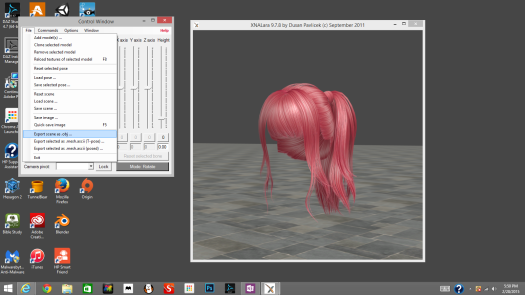
After you have loaded the hair file, go to File and select export scene as OBJ.
Create a new folder(ex.”hair folder”) to save your hair OBJs in, so you’ll know where you saved them.
Press save, The OBJ file is ready to go. Time to import into Daz!
Open up Daz Studio and load any figure, here I’m using Victoria
Go to file and select import, Next go to the folder where your hair OBJ is and select it.
In the OBJ import settings choose the poser setting and press accept.
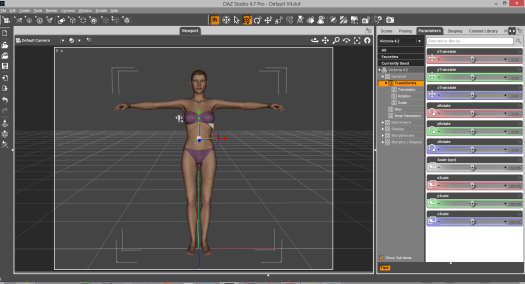
Now, you won’t see the model because it is HUGE and it’s above Victoria. Switch over to the perspective camera and select the hair model and zoom out and this is what you’ll see.
Scale it down, fit it to Victoria and tweak it to the desired fit, this is what I got.
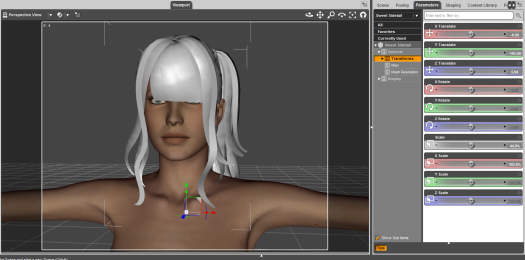
when it is to your liking go to the scene tab and drag the hair model to Victoria’s head to parent it to her.
Now when you move Victoria it will move with her.

Let’s move on to adding textures!
Go to the surface tab and select the Hair model and open the diffuse tab window and select browse.
Open up the XNALara data folder and select the hair models texture folder.
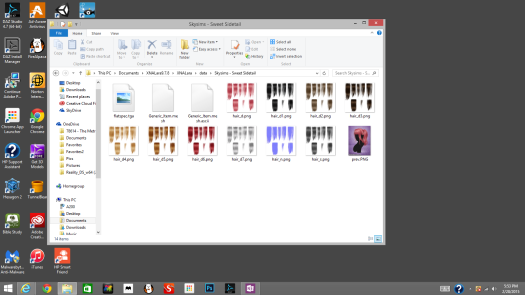
Choose which texture you want, I chose the first one.
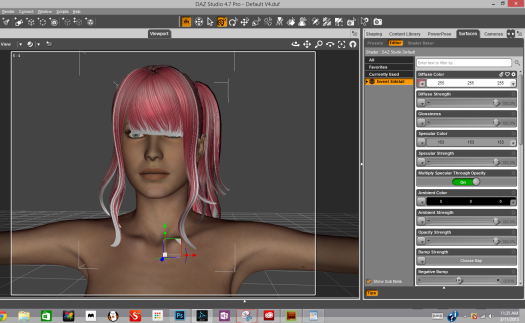
Ok, we have the diffuse texture, but something’s missing isn’t it?
You guessed it, the trans map.
When I firsted started doing this, I freaked out because there wasn’t a trans map in the folder! So I made my own.
It’s pretty easy, all you need is an editing program like Photoshop or Gimp.
Open your editing program of chose, Here I’m using Photoshop.
Open the texture Hair_d1 that is in the hair texture folder.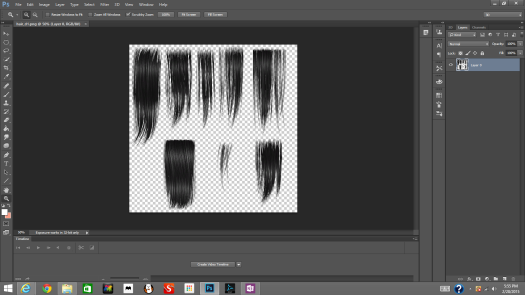
Create a new layer under the hair layer and use the bucket tool to fill that new layer with black.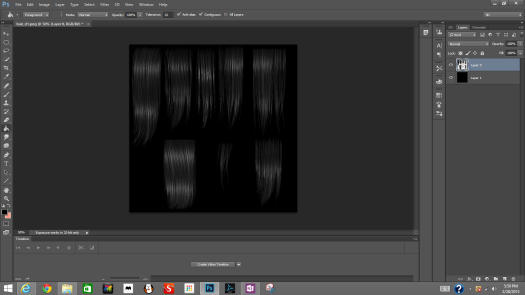
Now select the hair layer and go to edit and select hue/saturation.
Dial the Saturation setting down all the way to -100 and lightness setting all the way to 100 and you get this.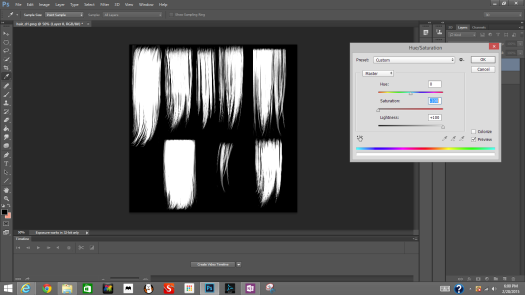
Merge the two layers together and rename the file as hair_t or trans so you won’t overwrite the diffuse texture. Save as an png file.
Now go back to daz and add the trans map to the opacity strength tab.
Here’s the finished product!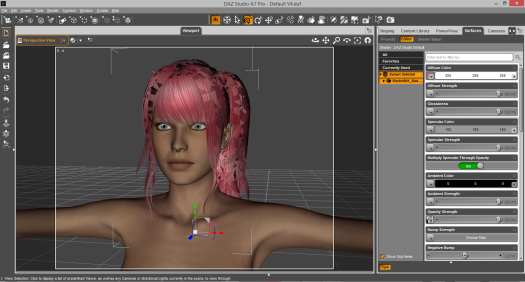
Last but not least, now we will save this so you can use this as a ready made prop.
Select File—Save As—Support asset—Figure/prop assets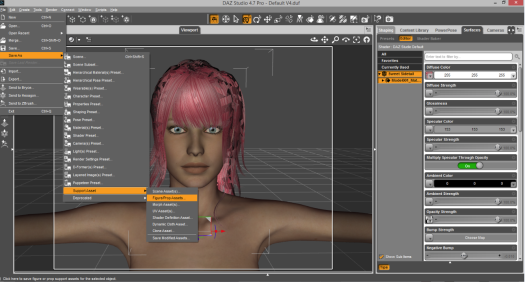
Type in the name of the hair and set content type to Prop>Hair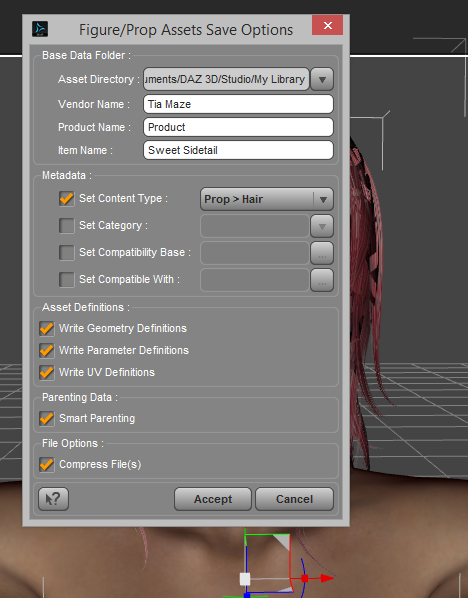
To access the hair, Under Daz studio formats go to My Library and scroll down to figures folder,you should see the hair prop there.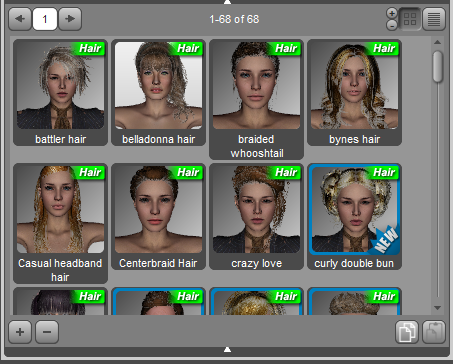
To find your hair folder go to Computer open drive C: and select the User/Owner folder and select the document folder and find the Daz3D folder. There will be a folder that says figures, open that and you will see the hair duf. file there. (I made a new folder called hair and dragged the hair files from the figures folder to this folder instead. but you can leave as is if you want.)
That’s it, I hope you’ve found this useful!
Enjoy your hair!